Getting Started
Welcome to the Quick Start Guide! In this tutorial, you will learn how to install the plugin into your project and test the built-in sample marker to see the system in action in under 5 minutes.
📦 Step 1: Installation
Section titled “📦 Step 1: Installation”If you downloaded the plugin from FAB, follow these steps to add it to your project:
- Close your Unreal Engine Editor.
- Navigate to your project’s root folder (where your
.uprojectfile is located). - Create a new folder named
Plugins(if it doesn’t already exist). - Extract the downloaded
MageItWorldMarkersfolder into thePluginsdirectory.
- Launch your project.
- In the Editor, go to Edit > Plugins, search for “MageIt World Markers”, and ensure the checkbox is enabled.
🔍 Step 2: Show Plugin Content
Section titled “🔍 Step 2: Show Plugin Content”To test the system immediately, we will use the ready-made sample assets provided with the plugin. By default, Unreal Engine hides plugin content in the Content Browser.
- Open the Content Drawer (
Ctrl + Space). - Click the Settings gear icon in the top right corner of the Content Drawer.
- Check the box for Show Plugin Content.
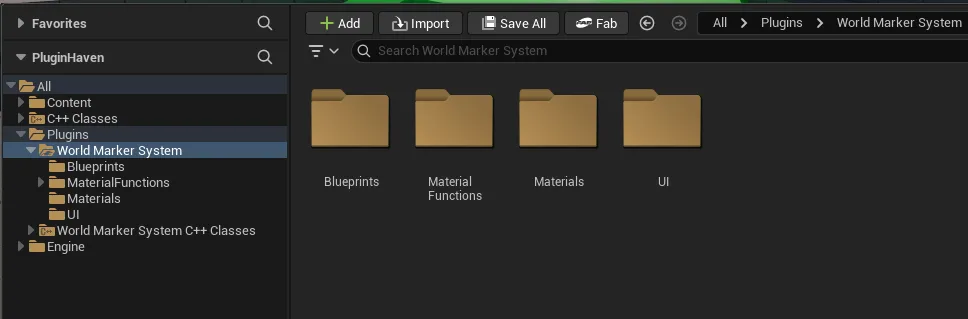
- In the folder tree on the left, scroll down until you find the MageItWorldMarkers Content folder.
🎯 Step 3: Add the Sample Marker to Your Level
Section titled “🎯 Step 3: Add the Sample Marker to Your Level”Now that you can see the plugin’s content, let’s place a marker in the world.
- Navigate to:
MageItWorldMarkers/Content/Blueprints - Find the Blueprint named
BP_WMS_Marker. - Drag and drop
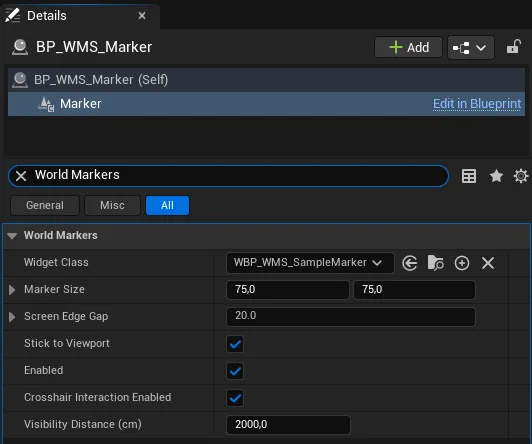
BP_WMS_Markerdirectly into your level viewport. Place it slightly above the ground or on top of an object. - (Optional) Select the marker in the level, go to the Details Panel, and look at the
Markercomponent settings (World markers). Notice that its Widget Class is already assigned to the sample UI blueprint.
▶️ Step 4: Play and Test
Section titled “▶️ Step 4: Play and Test”- Hit the Play (PIE) button in the editor.
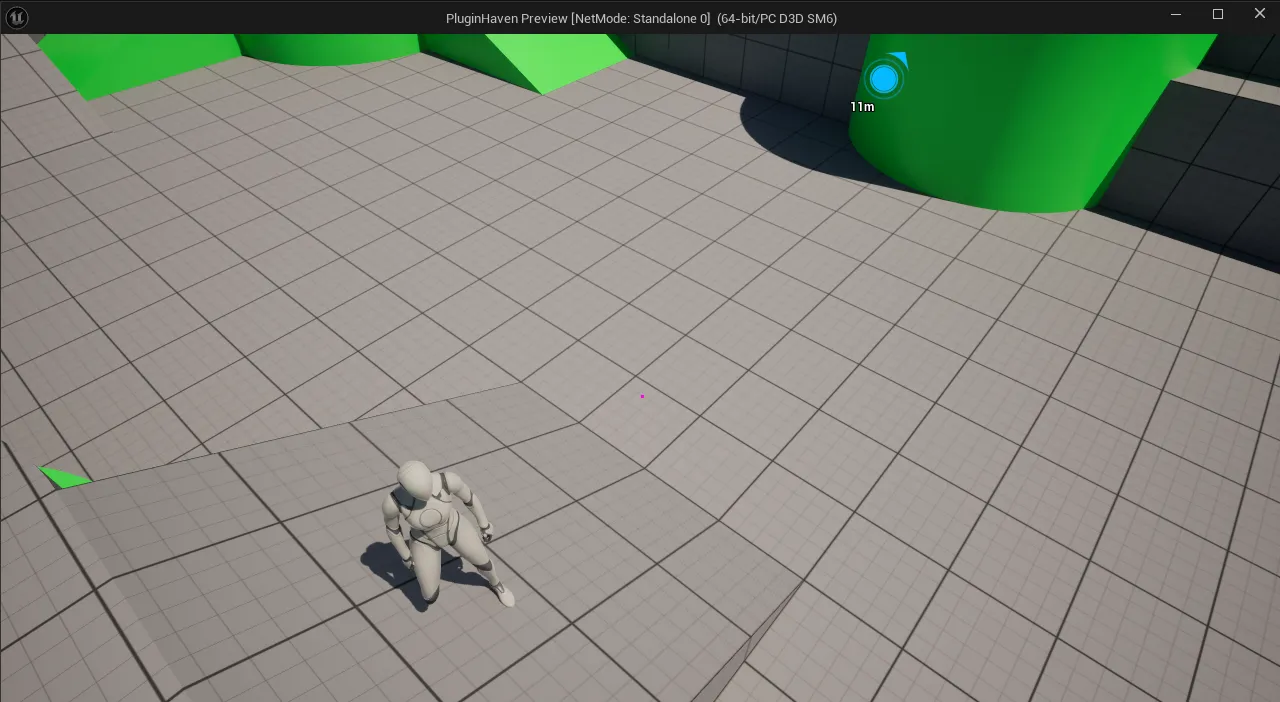
- Look directly at the location where you placed the marker. You should see the sample UI floating over the object.
- Turn your camera away. Notice how the marker dynamically clamps to the edge of your screen and transforms into a directional indicator!
- Walk away. If you configured a
MaxVisibleDistance(Visible Distance(cm)) on the component, the marker will automatically fade or disappear when you get too far.
🎨 Step 5: Exploring the UI Widget
Section titled “🎨 Step 5: Exploring the UI Widget”Wondering how the visual part works? The BP_WMS_Marker uses a sample UI widget to display its graphics.
You can find and open this widget here: MageItWorldMarkers/Content/UI/WBP_WMS_SampleMarker
Open this widget to see how it uses the built-in Blueprint Events (like OnScreenVisibilityChanged or
OnScreenSideChanged) to switch animations, update text, and rotate arrows based on the subsystem’s data.
What’s Next?
Now that you know the plugin works, you can start adding the MageItWorldMarkerComponent to your own Actors (Enemies,
NPCs, Loot) and designing your own custom widgets by inheriting from UMageItWorldMarkerWidget. Check out
the Blueprint API section for more details!